AWS Event Engine
Logging into AWS Event Engine
To complete this workshop, you are provided with an AWS account via the AWS Event Engine service. A 12-digit hash will be provided to you by event staff.
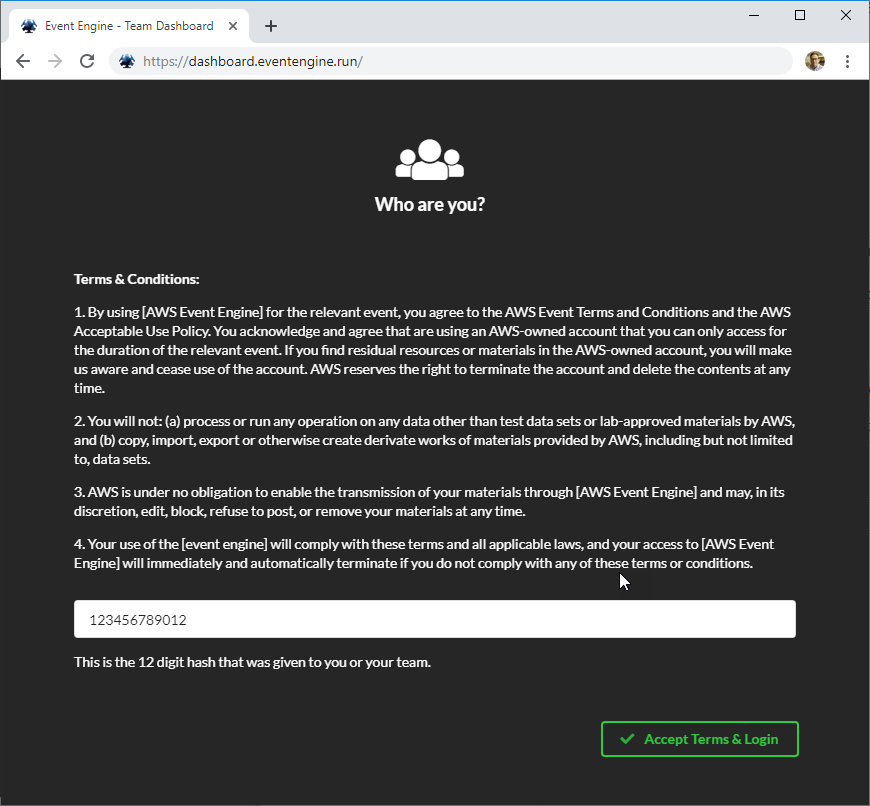
- Go to https://dashboard.eventengine.run to log into AWS Event Engine.

- Enter your unique 12-digit hash code and choose Accept Terms & Login.
- Choose AWS Console, then Open AWS Console.
This account will expire at the end of the workshop and the all the resources created will be automatically deprovisioned. You will not be able to access this account after today.
Region selection
Use a single region for the duration of this workshop. This workshop supports the following regions:
- us-west-2 (US West - Oregon)
Please select US West - Oregon in the top right corner.

Starting Up Our Jira Server
Jira Server Address
In order to open our Jira server in our browsers, we need the DNS Name of the Load Balancer.
In the AWS Console Window,
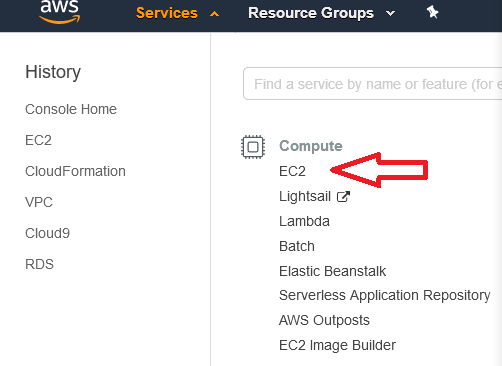
Click Services -> EC2
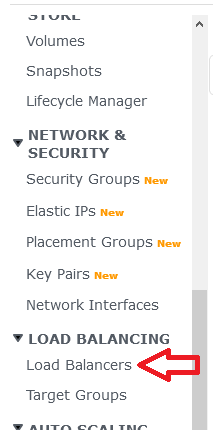
On the Left hand side, scroll down until you see the LOAD BALANCING section and click Load Balancers
Select the Load Balancer , and copy the DNS Name, This is our Jira Server address.
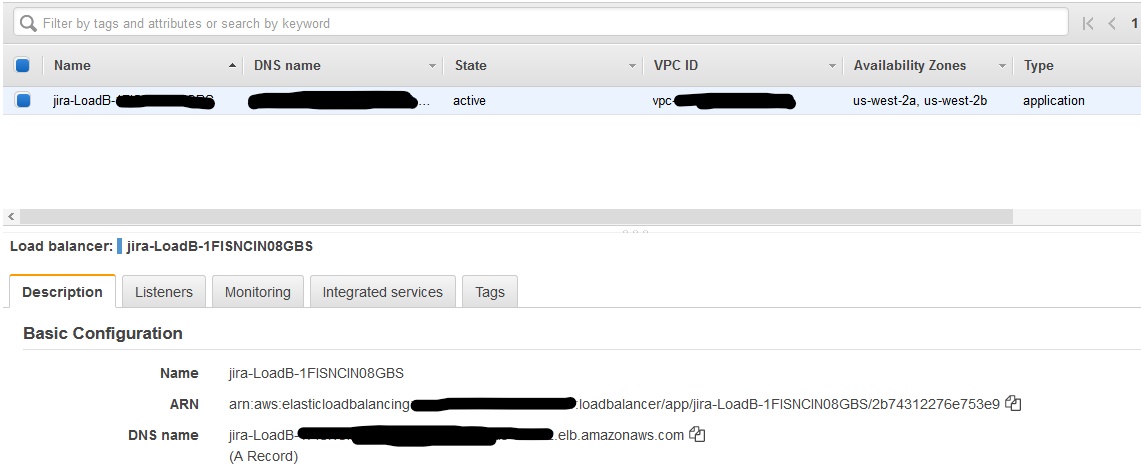
Input this address to your web browser to access Jira.
Jira Initial Setup
When we first start Jira we need to go through the initial setup. In the “Setup application properties” page the we see,
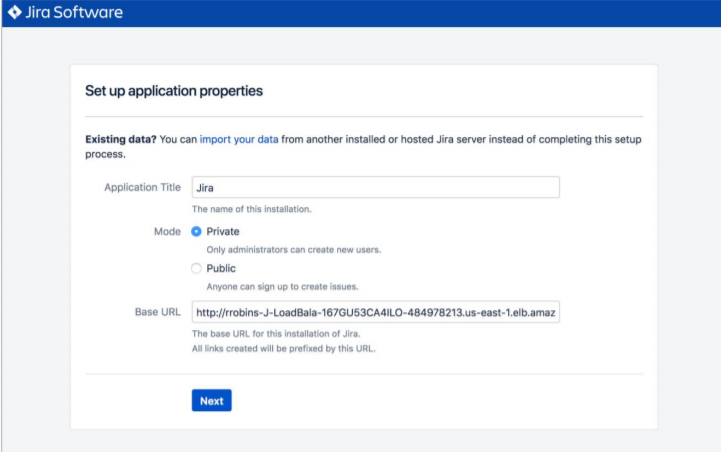
Leave the values as is, and click Next .
In the “Specify your license key” page we need to input a trial license. Input the Trial License given to you by the staff.

Then click Next.
In the “Setup An Administrator Account” page we setup our main user.
For our workshop, lets create a user named Jordan,
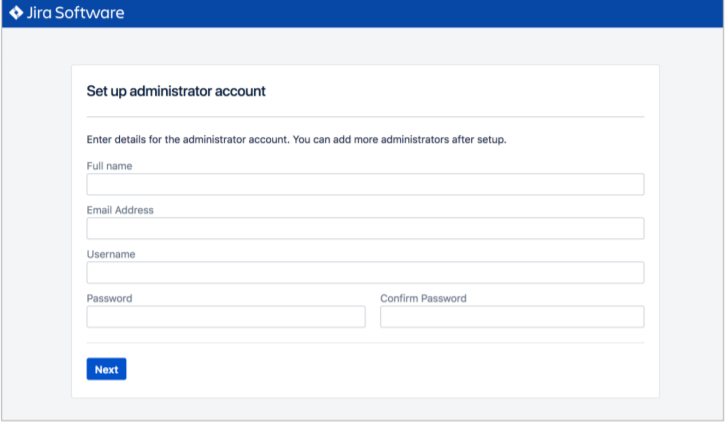
Add the rest of the information as you want, and click Next.
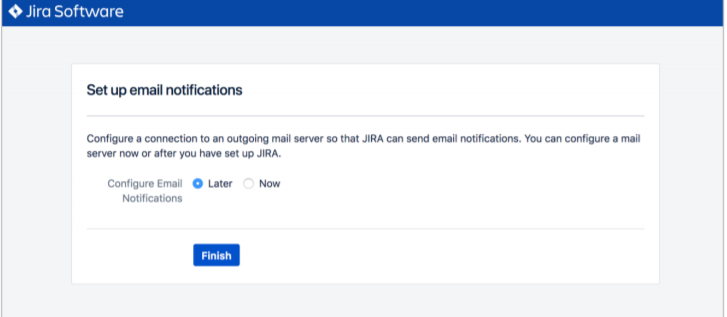
In the “Set up email notifications” page, choose Later, and then choose Finish.

In the first “Welcome to Jira” page, choose a language and then choose Continue.
In the second “Welcome to Jira” page, choose an avatar for your profile, if you wish,
and then choose Next.
When you are ready to get started click HERE!