Assign a Story to a User
Each person on your team should generally be working on only one story at a time. There are a variety different approaches to how your team can coordinate work on the stories:
Your team as a whole can work on one story at a time together. This is called “swarming”, and is appropriate when there are enough sub-tasks in a story that can be worked on in parallel.
Each team member can take on a separate story and perform all the sub-tasks in the story until the story is completed.
A hybrid approach in which multiple team members work on one story and other team members work on another story. This requires a large enough team such that the members can be divided among multiple stories.
Let’s open the “Gnome” story in Jira so we can assign the story to a user.
If you are still on the Active sprints project view, click on the title of the story that spans the columns across the top. This will open a details summary pane on the right side of the page. (If you are on the Backlog project view, you would likewise click on the row containing the title of the story to open the details summary pane.)
At the top of the story details pane, the story unique key is a clickable link.
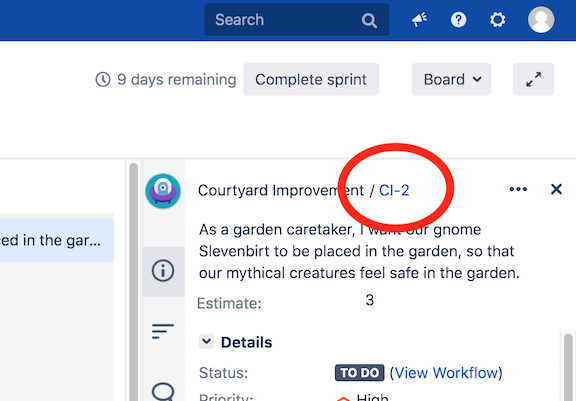
Click on the story unique id to open the full story details page.
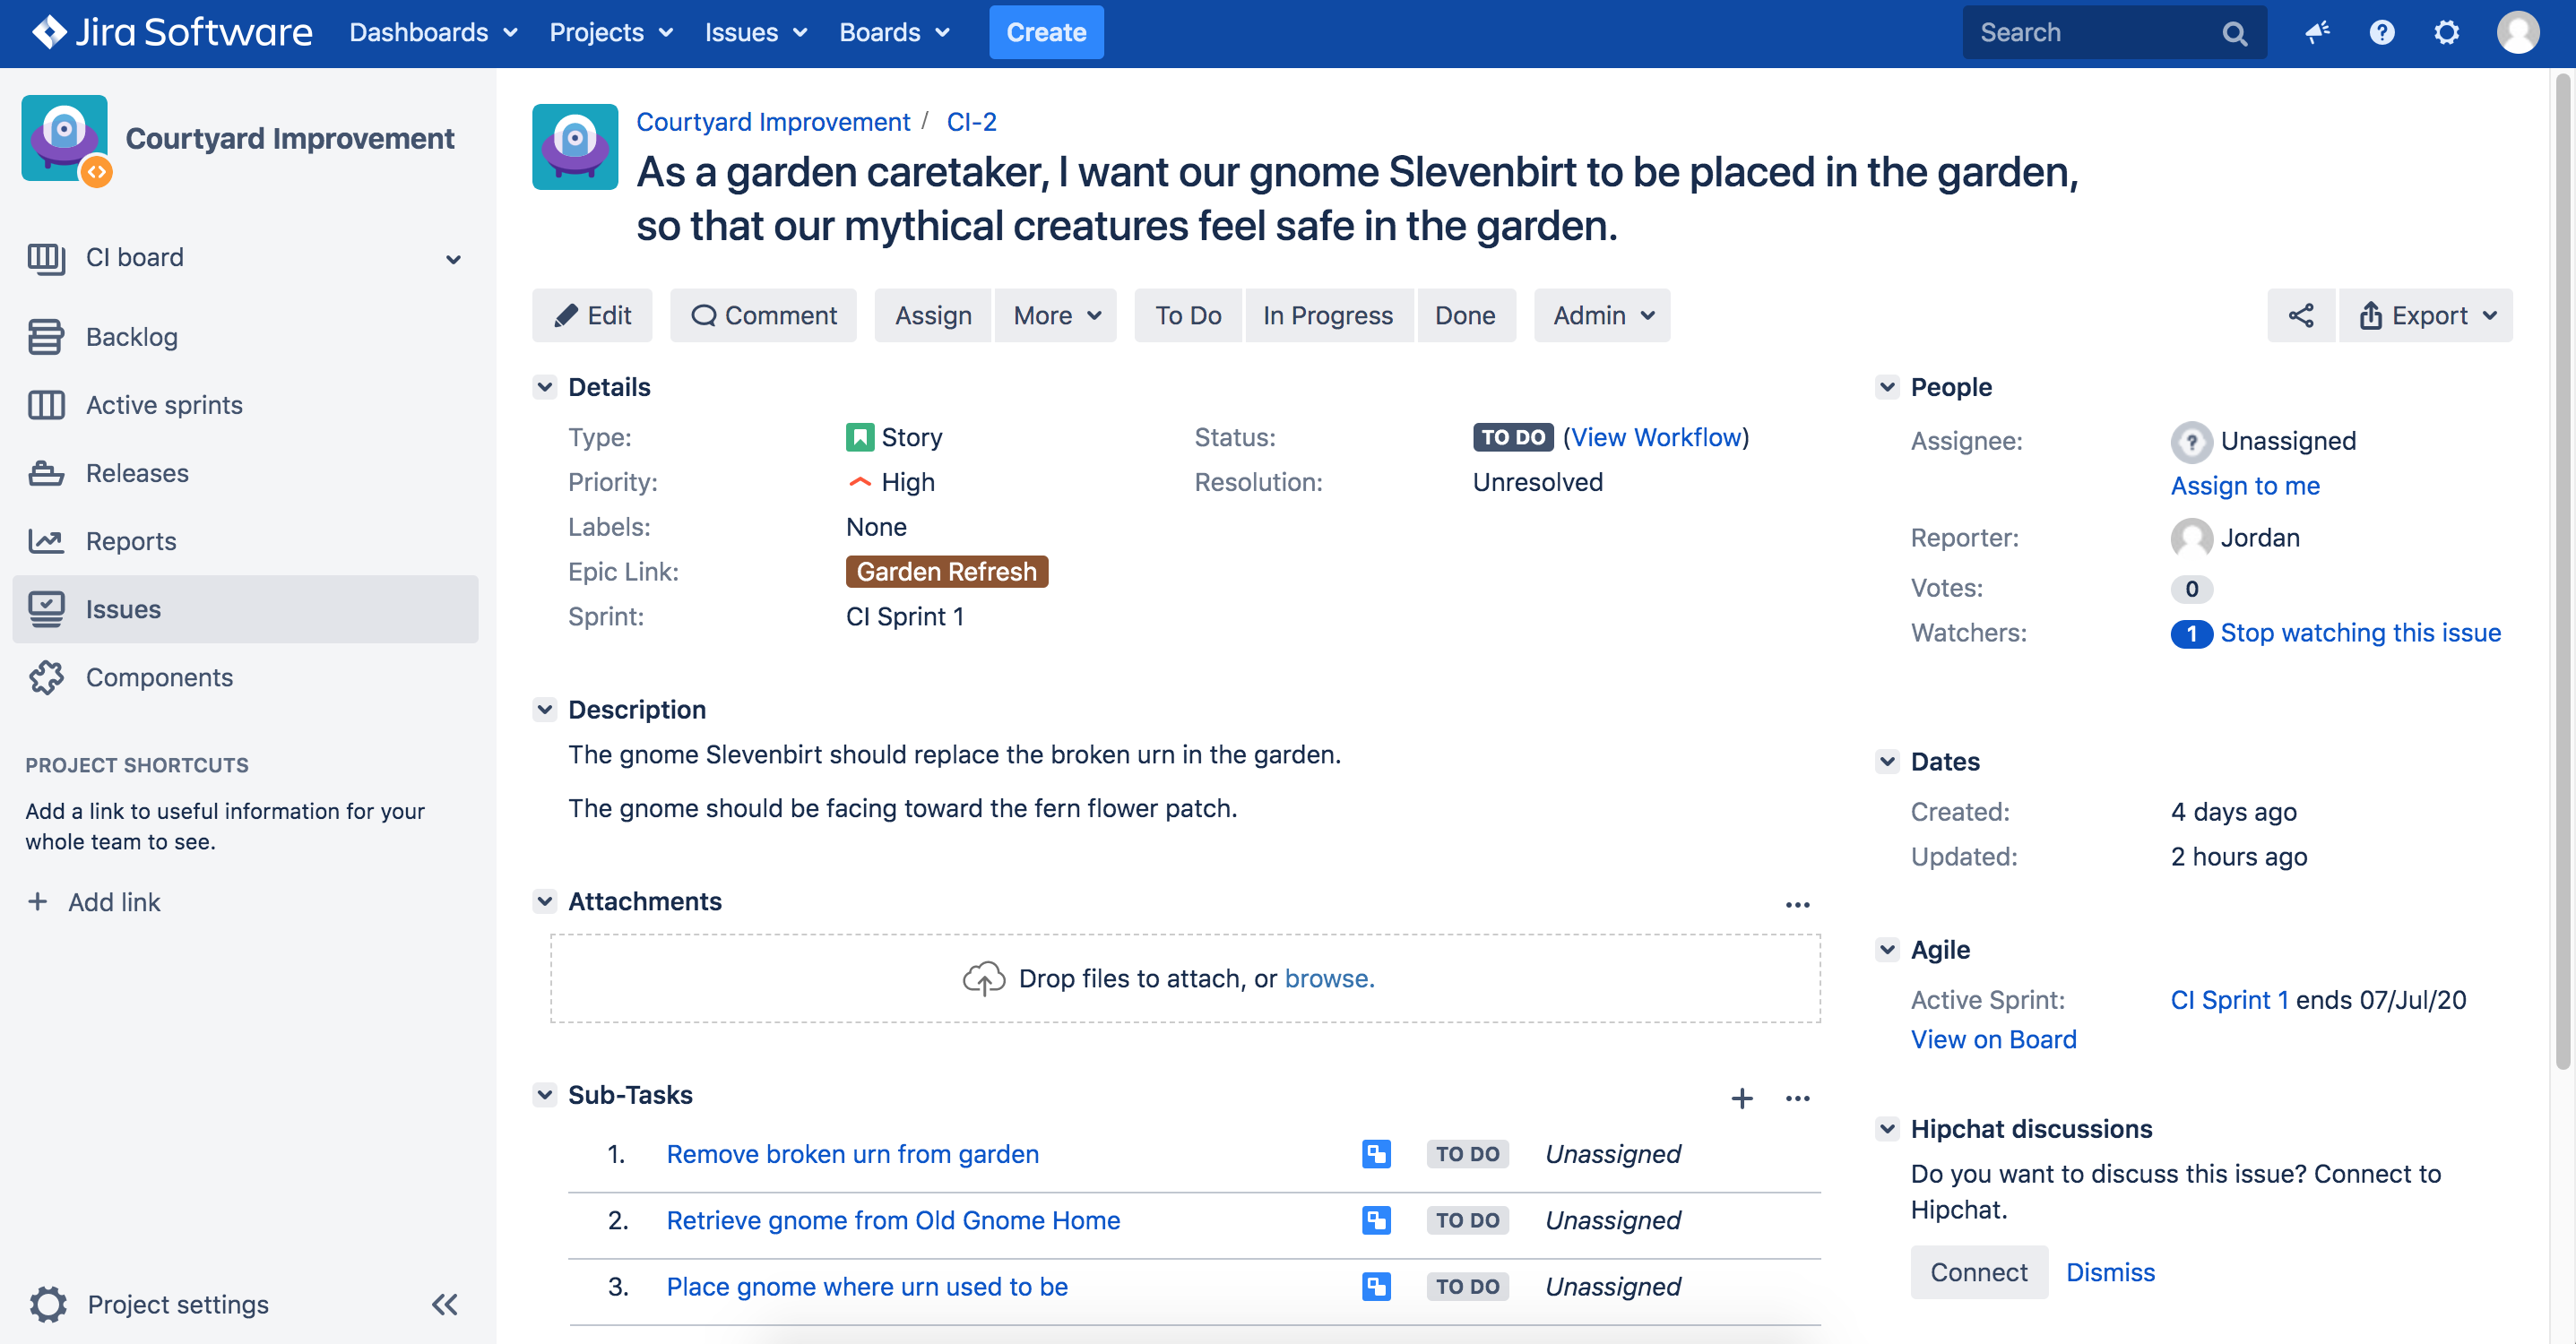
Let’s assign this story to one of your team members.
In the upper right of the story details page, notice the Assignee field with a value of “Unassigned”. Clicking on the “Unassigned” value will change it to a text box. Type “k” into the field and notice that Jira provides a suggestion for the user.
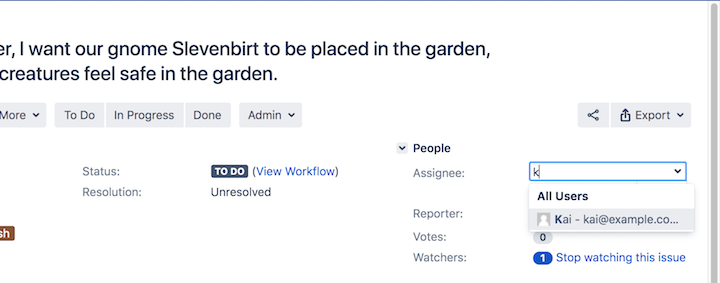
Select “Kai” as the user, and then click the check box under the field to save the value. The story is now assigned to Kai.
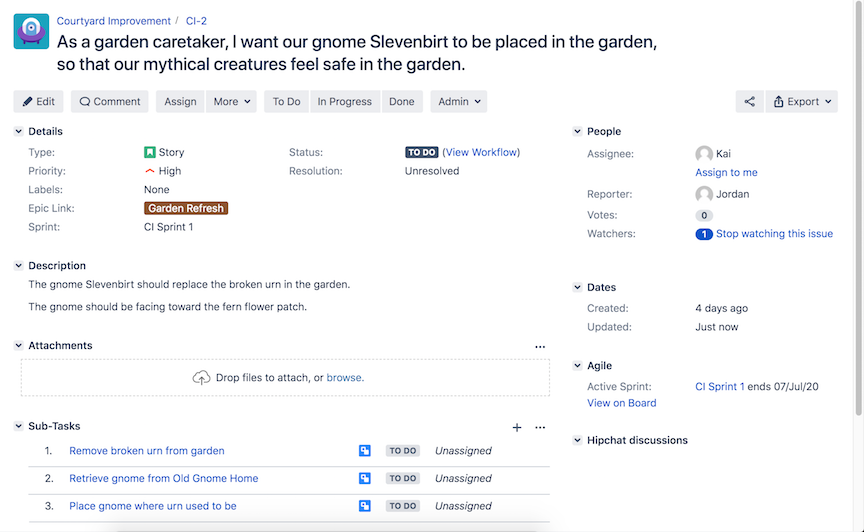
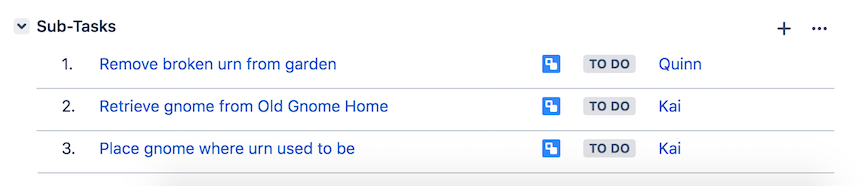
You’ll notice on the story details page that the three sub-tasks show as “Unassigned”. If Kai is the only person working on this story, then assigning the individual sub-tasks is not critical. Otherwise, you would assign each sub-task to whichever team member who would work on it. Let’s quickly assign the sub-tasks to a couple team members.
On the story details page, hover your mouse over the row for the first subtask. You will see “…” appear on the right side of the row. Click the “…” button to bring up a menu.

Select the Assign menu option, which will then open an Assign Sub-Task dialog.
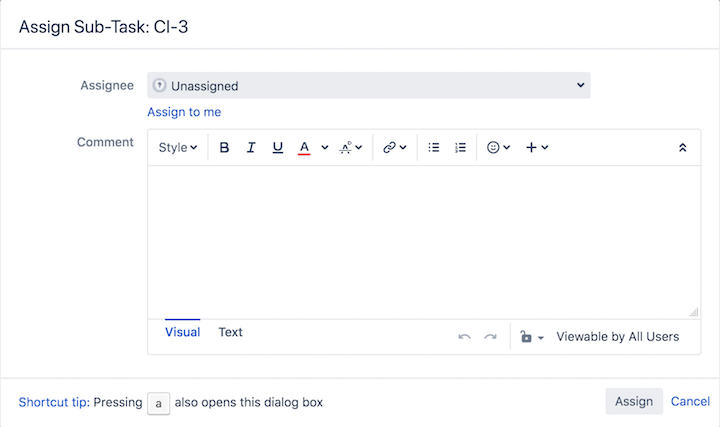
Click in the Assignee field to get a drop-down of users. Select Quinn as the assignee, then click the Assign button to save the assignment.
Repeat the procedure to assign the remaining sub-tasks to Kai. All three sub-tasks should now be assigned.